
“Are you tired of your chain skipping or shifting poorly on those daring mountain bike trails? A poorly adjusted rear derailleur can ruin any ride, but fear not! In this post, we’ll guide you through the steps on How to Adjust the Rear of the Derailleur Mountain Bike. Get ready to shift smoothly and take on those hills with confidence!”
Tools required for adjusting the rear derailleur
Tools Required:
- Allen keys
- Chain lubricant
- Bike stand or something to hold the bike steady
- Screwdriver or derailleur hanger alignment tool (if necessary)
How to Adjust Rear Derailleur Mountain Bike?
The rear derailleur is an essential part of a mountain bike’s drivetrain that shifts the chain between different gears on the cassette. Adjusting the rear derailleur is crucial to ensure smooth and accurate shifting, efficient pedaling, and overall performance. Here are the steps to adjust the rear derailleur on a mountain bike:
Step 1: Position the Bike Firstly, place your bike in a bike stand or against a wall or any sturdy object, so it’s stable and you can access the rear derailleur easily.
Step 2: Shift to the Highest Gear Shift your bike to the highest gear (smallest sprocket on the cassette) by using the shifter on your handlebar. Check that the chain is sitting properly on the smallest sprocket and that the derailleur is lined up with the sprocket.
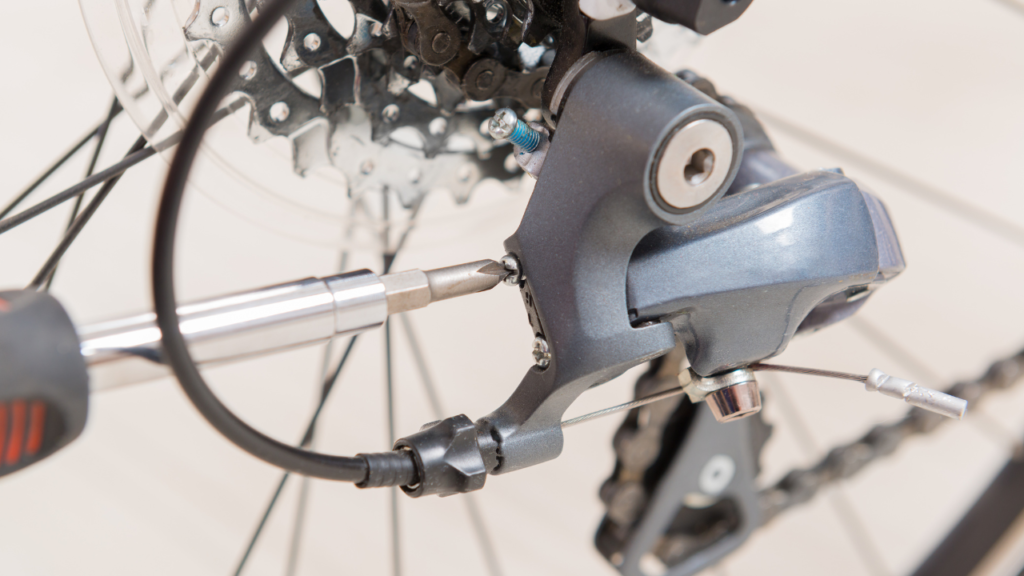
Step 3: Check the Cable Tension Check the cable tension by pulling on the derailleur cable by hand or with pliers. The derailleur should move inwards, towards the bike. If it does not move, loosen the cable anchor bolt with an Allen key and pull the cable tighter. Then, retighten the anchor bolt.
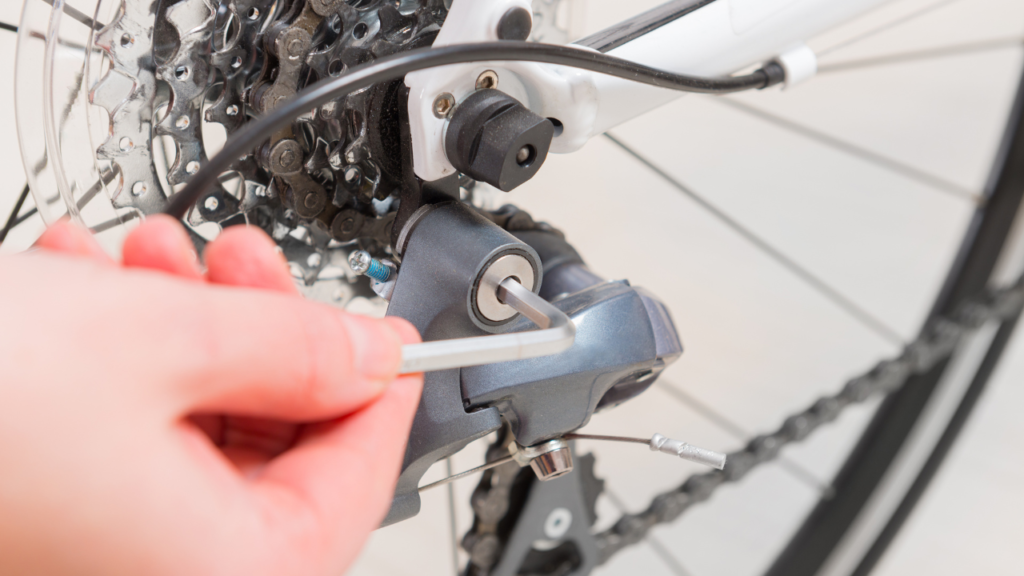
Step 4: Check the Limit Screws Check the limit screws on the rear derailleur. These screws control the travel range of the derailleur and prevent the chain from falling off the cassette. Turn the pedals slowly and shift to the lowest gear (the largest sprocket on the cassette). If the chain does not sit properly on the sprocket, adjust the low-limit screw by turning it clockwise or counterclockwise until the chain sits comfortably on the sprocket.
Repeat this step for the highest gear, using the high-limit screw. Once you adjust the limit screws, you might need to readjust the cable tension slightly.
Final Steps
Step 5: Test the Shifting Shift through all the gears on the cassette, and check that the chain shifts smoothly and accurately. If there is any delay or missed shifts, adjust the cable tension by turning the barrel adjuster on the derailleur. Turn it clockwise to tighten the cable and anticlockwise to loosen it.
Step 6: Check the Derailleur Hanger Alignment Check the derailleur hanger alignment, which can cause shifting problems. You can use a derailleur hanger alignment tool to do this or take it to a bike shop if you’re not comfortable doing it yourself.
Step 7: Lubricate the Chain Lastly, apply chain lubricant to the chain, and wipe off any excess oil with a rag. A well-lubricated chain will ensure smooth shifting and a longer lifespan for your drivetrain.
Tips for maintaining and cleaning the rear derailleur
The rear derailleur is one of the most important parts of your mountain bike. It is responsible for shifting the chain from one sprocket to another, and it needs to be adjusted properly in order to work properly. Here are some tips for maintaining and cleaning your rear derailleur:
-Clean the derailleur regularly with a dry cloth or brush. This will help remove any dirt or debris that could build up and cause problems.
-Make sure the derailleur is properly lubricated. This will help it move smoothly and prevent damage.
-If you notice any problems with the derailleur, take it to a qualified mechanic or bicycle shop for repair or replacement.
Common mistakes to avoid when adjusting the rear derailleur
When adjusting the rear derailleur on a mountain bike, there are some common mistakes to avoid that could lead to poor shifting or even damage to the derailleur or other parts of the bike. Here are some common mistakes to watch out for:
- Not starting with a clean and lubricated chain: A dirty or dry chain can cause poor shifting, so make sure to clean and lubricate your chain before adjusting the rear derailleur.
- Ignoring the cable tension: Cable tension is a critical factor in rear derailleur adjustment, and it should be checked and adjusted before any other adjustments are made.
- Adjusting the limit screws incorrectly: The limit screws are designed to prevent the chain from falling off the cassette, and they should be adjusted carefully to ensure the derailleur does not shift too far inward or outward. If they are adjusted incorrectly, the chain could fall off the cassette or the derailleur could be damaged.
- Over-tightening the cable anchor bolt: The cable anchor bolt should be tightened enough to hold the cable in place, but over-tightening it can cause the cable to stretch or even break.
- Not aligning the derailleur hanger: If the derailleur hanger is bent or misaligned, it can cause poor shifting, and adjusting the derailleur without fixing the hanger first will not solve the problem.
- Ignoring the barrel adjuster: The barrel adjuster on the rear derailleur should be used to fine-tune the cable tension, and ignoring it can lead to poor shifting.
- Forgetting to check the chain for wear: A worn-out chain can cause poor shifting and damage to the cassette and chainrings, so make sure to check the chain regularly for wear and replace it as needed.
By avoiding these common mistakes and following the proper steps for adjusting the rear derailleur, you can ensure smooth shifting and optimal performance of your mountain bike.
How to troubleshoot common problems with the rear derailleur?
If your rear derailleur isn’t functioning properly, there are a few things you can do to troubleshoot the problem. First, check to make sure that the derailleur is properly aligned. If it’s not, you can try adjusting it yourself or take it to a bike shop to have them do it. Next, check the derailleur’s limit screws to see if they’re properly adjusted. If they’re not, you’ll need to adjust them yourself or take the bike to a bike shop. Finally, check the cable tension and make sure it’s not too tight or too loose. If it’s too tight, the derailleur won’t be able to move freely and if it’s too loose, the chain will fall off.
Conclusion
Adjusting your rear derailleur mountain bike can seem like a daunting task but with the right tools and instructions, it doesn’t have to be. Following these steps should help you achieve proper adjustment on your bike so that you can enjoy a smoother ride experience. And when all else fails, don’t forget to visit your local bike shop for professional assistance. So get out there and have some fun exploring the world of mountain biking!


