
Are you tired of the same old look of your bike? Want to give it a fresh new coat but unsure how to do it? The good news is that spray painting your bike frame is an affordable and easy DIY project that can transform the appearance of your ride. But before you start grabbing cans of paint, there are some important steps to follow to ensure the best results. In this article, we’ll walk you through how to spray paint a bike frame in just five simple steps! So get ready to revamp your ride and turn heads on every street corner.
Can I spray paint a bike frame
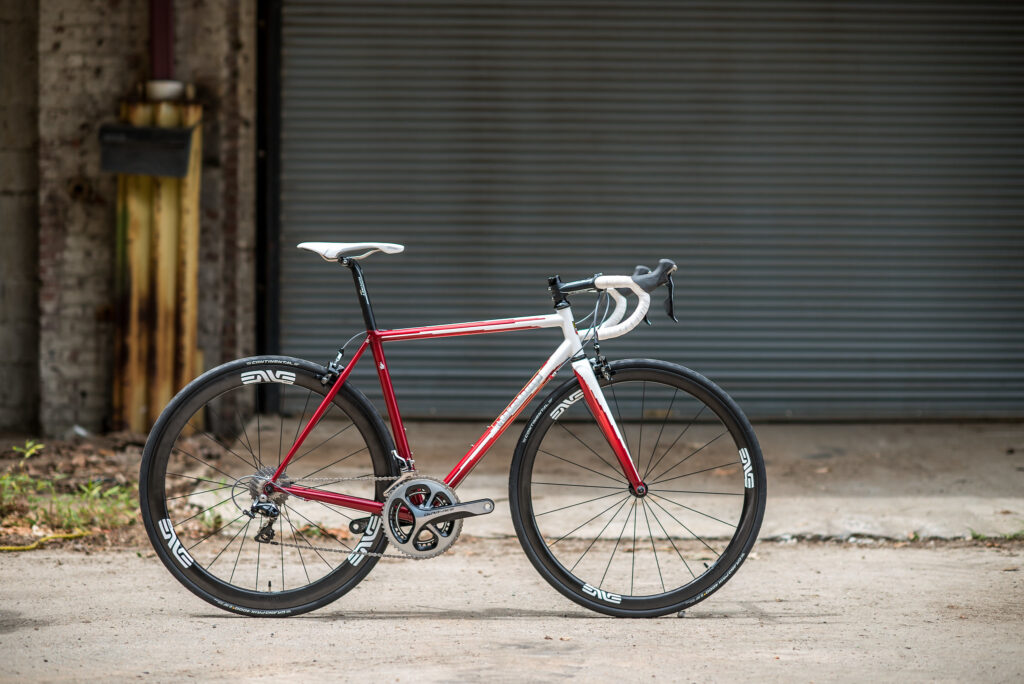
If you’re looking to give your bike a fresh look without breaking the bank, spray painting the frame is an affordable and easy solution. However, before you start spraying away, it’s important to know if it’s safe for your bike.
The answer is yes! You can definitely spray paint a bike frame. In fact, many cyclists have done so with great results. It’s important to note that the process does require some prep work and patience in order for the finish to come out as desired.
Firstly, make sure that you choose a well-ventilated area where there are no flammable materials nearby. Next, remove all parts of the bike that won’t be painted such as wheels and handlebars.
Once this has been done, clean and sand down any rough patches on the frame before applying a primer coat. After allowing time for drying between coats (usually 24 hours), apply thin layers of paint until full coverage is achieved.
Allow ample time for drying before reassembling your newly painted bike!
With these steps completed successfully,you will have given yourself an exciting weekend project while also having saved money from hiring someone else to do it professionally!
What You’ll Need
Before you start spray painting your bike frame, it’s important to get everything that you need. Here are the materials and tools that you’ll require:
1. Spray paint: Choose a high-quality spray paint that is designed for use on metal surfaces like bike frames. You can opt for any color of your choice.
2. Sandpaper: To ensure proper adhesion of the new coat of paint, lightly sand down the old layers with fine-grit sandpaper.
3. Cleaning supplies: Use a degreaser or rubbing alcohol to clean off any dirt or grease from the surface before painting.
4. Painter’s tape: Cover any areas on the frame that you don’t want to be painted, such as logos or labels.
5. Gloves and protective gear: Wear gloves and a face mask while working with spray paints in well-ventilated areas to protect yourself from fumes.
6. Drop cloth/newspapers: Place newspapers underneath your work area to avoid getting spray paint all over your floor or table.
Gathering these essential items will make sure that you have everything at hand when it comes time for prepping and painting your bike frame!
Prepping the Bike Frame
Before you start painting your bike frame, you need to prep it properly. This means removing all the old paint and rust from the surface so that the new paint adheres well to it.
Start by removing all parts attached to your bike frame such as wheel sets, brakes, pedals etc. Clean the entire frame with a degreaser solution and let it dry overnight.
Next use sandpaper or a wire brush to remove any remaining paint or rust off of the surface. Take extra care when working on curved parts like handlebars and bottom brackets.
Afterwards wipe down again using clean cloth or paper towels. Apply masking tape over areas where you don’t want spraypaint touching them like bearings cups for instance.
Then apply primer coat in even strokes onto every part of your newly prepared bike-frame making sure not leave any spots untouched. Let this dry completely before applying final coats of color spray-paint which would give an excellent finish!
Painting the Bike Frame
Now that you’ve prepped your bike frame, it’s time to start painting! Before starting, make sure you’re wearing protective gear such as gloves and a mask.
Step 1: Start by shaking the spray paint can thoroughly according to the manufacturer’s instructions. This ensures that the pigment is evenly distributed throughout the can.
Step 2: Spray a light coat of paint on the bike frame, holding the can about 8-10 inches away from the surface. It’s better to apply multiple thin coats rather than one thick coat which could result in drips or unevenness.
Step 3: Allow each coat to dry completely before applying another layer of paint. You may need several coats depending on how well your chosen color covers up any previous colors or scratches.
Step 4: Be patient and take your time when painting intricate areas such as around joints and corners. Use small bursts of paint instead of continuous spraying for more control over where it goes.
Step 5: Once you’ve finished painting all parts of your bike frame, let it dry overnight before reassembling everything back together again!
Remember that patience is key when spray-painting a bike frame – rushing through this process will only lead to poor results!
Finishing Up
Finishing up the spray paint job on your bike frame is a crucial step in ensuring that it looks good and lasts long. Here are some tips to help you get a great finish:
1. Remove any masking tape or paper carefully once the paint has dried. This will prevent any unwanted smudging or peeling of the fresh coat.
2. Inspect the frame for any missed spots or areas where the paint may have pooled, dripped or run excessively.
3. Use sandpaper with a fine grit to smooth out any rough edges, bumps, runs and drips that you may find on your painted surface.
4. Apply a clear coat to protect your newly painted bike frame from dirt, scratches and UV rays which can cause fading over time.
5. Allow sufficient drying time before handling or reassembling your bike parts to avoid damaging the freshly sprayed surfaces.
By following these simple steps, you can be sure that your newly painted bike frame will look amazing and last longer than ever before!
Let the frame dry
Once you have finished painting the bike frame, it’s important to let it dry completely before handling or using it. Rushing this step could ruin all of your hard work and effort.
The drying process can take anywhere from a few hours to a full day depending on the type of paint used and the environmental conditions. It’s best to leave the bike frame in a well-ventilated area with good air circulation and away from direct sunlight or extreme temperatures.
If possible, try not to touch or move the bike frame while it’s still wet as this could cause smudging or unevenness in the finish. You can use a fan or hairdryer set on cool to speed up the drying process but never use heat as this can damage both paint and metal.
Once you are sure that the paint has dried fully, inspect for any areas that may need touching up. If satisfied with your work, congratulations! You’ve successfully spray painted your bike frame and given new life to an old ride!
Conclusion
Spray painting a bike frame is definitely possible with the right tools and techniques. It can be a fun and budget-friendly way to give your bike a new look without having to purchase a brand-new one.
However, it’s important to take your time when prepping and painting the frame in order to achieve the best results. Properly cleaning and sanding the surface beforehand will ensure that the paint adheres well and lasts longer.
Remember to also choose an appropriate location for spraying, such as outside or in a well-ventilated area. And always wear protective gear like gloves, goggles, and a mask during the process.
With these tips in mind, you’ll be able to successfully spray paint your bike frame in just five steps! So go ahead and give it a try – you might be surprised by how easy it can be.
Also Read Can a Carbon Bike Frame be Repaired?


