
Changing a bike inner tube can be a daunting task, however it doesn’t have to take up too much of your time. In this article, we will provide you with a step-by-step guide on how to change your bike inner tube in under 10 minutes – no matter what type of bicycle you own! So if you’re looking for an easy and quick solution to repair your bike, keep on reading!
What You Need
Assuming you already have the tools for the job (a bike pump and a few tire levers), here’s a list of what else you’ll need to change your bike inner tube:
- -One new inner tube that fits your tire size
- -A small amount of air (to inflate the new tube a tiny bit so it holds its shape)
- -Your trusty bike pump
- -2 or 3 tire levers (one more than you think you’ll need!)
- -A method to patch your old tube if it’s repairable
- -An optional secondary method to patch your tube if patches aren’t doing the trick
Quick Guide how to change bike inner tube
- Gather your tools: You’ll need a tire lever (or two), a new inner tube, a pump, and possibly a patch kit if you want to repair the punctured tube instead of replacing it.
- Remove the wheel from the bike: Loosen the quick release lever or remove the nuts securing the wheel to the frame, then carefully lift the wheel out of the dropouts.
- Remove the tire from the rim: Insert the tire lever between the tire and the rim and lever the tire away from the rim. Work your way around the tire, prying it away from the rim until you can pull it off by hand.
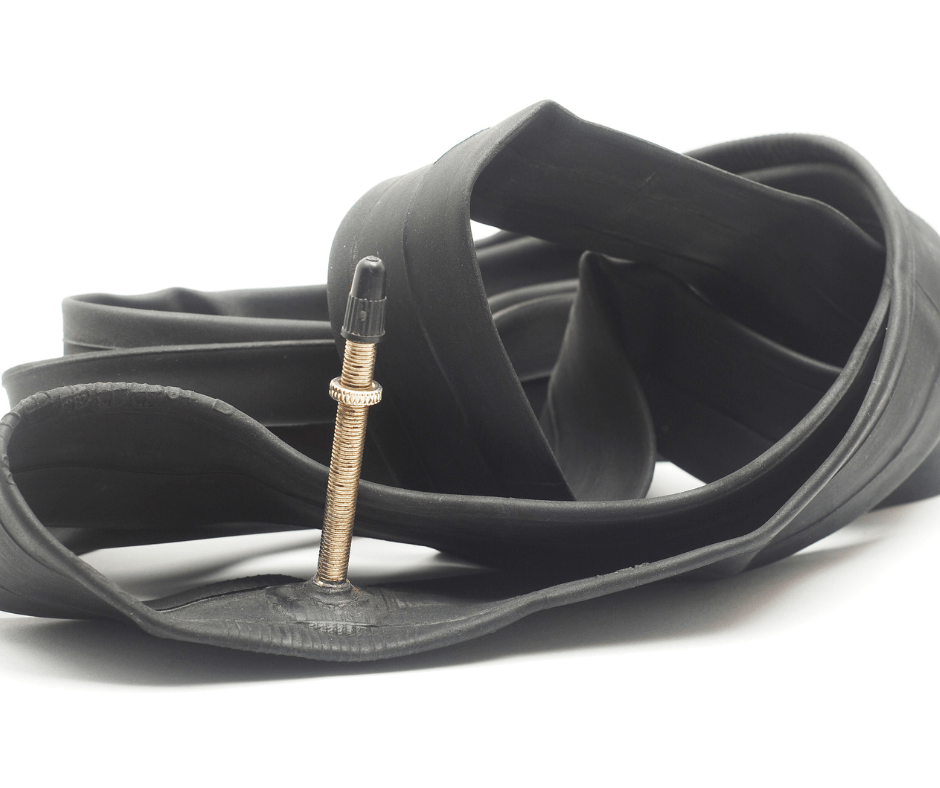
- Remove the inner tube: Once you’ve removed the tire from the rim, you’ll be able to see the inner tube. Gently pull the valve stem out of the rim, then pull the rest of the tube out of the tire.
- Check the tire for damage: Before installing the new inner tube, inspect the inside of the tire for any debris or sharp objects that may have caused the flat. If you find anything, remove it carefully.
Installation
- Install the new inner tube: Inflate the new inner tube slightly so that it holds its shape, then insert the valve stem through the hole in the rim. Starting at the valve stem, tuck the rest of the tube into the tire, making sure that it’s not twisted or pinched.
- Reinstall the tire onto the rim: Starting at the opposite side of the rim from the valve stem, work the tire back onto the rim using your hands. If you have trouble getting the tire back onto the rim, use the tire lever to help you. Make sure the tire is seated evenly on the rim.
- Inflate the tire: Use a pump to inflate the tire to the recommended pressure. Check the sidewall of the tire for the recommended pressure range.
- Reinstall the wheel onto the bike: Carefully place the wheel back into the dropouts on the frame, making sure that the axle is fully seated in the dropouts. Tighten the quick release lever or nuts, then give the wheel a spin to make sure it’s straight and true.
Detailed Step by step Guide
Step 1: Removing the Tire and Wheel From Your Bike
- The first step in changing your bike inner tube is to remove the tire and wheel from your bike. You will need a few tools for this including a wrench, pliers, and a new inner tube.
- Start by loosening the bolts that hold the wheel in place. Once the bolts are loose, you can remove the tire and inner tube from the wheel. Be careful not to lose any of the small parts like the valve stem.
- With the old inner tube removed, you can now inspect the tire for any sharp objects or debris that may have caused the puncture. Once you have found the cause of the puncture, you can proceed to step two.
Step 2: Identifying the Inner Tube Problem
If you’re unsure of what exactly is wrong with your bike inner tube, start by identifying the problem. There are a few common issues that can occur, such as:
- A hole in the tube
- A puncture in the tire
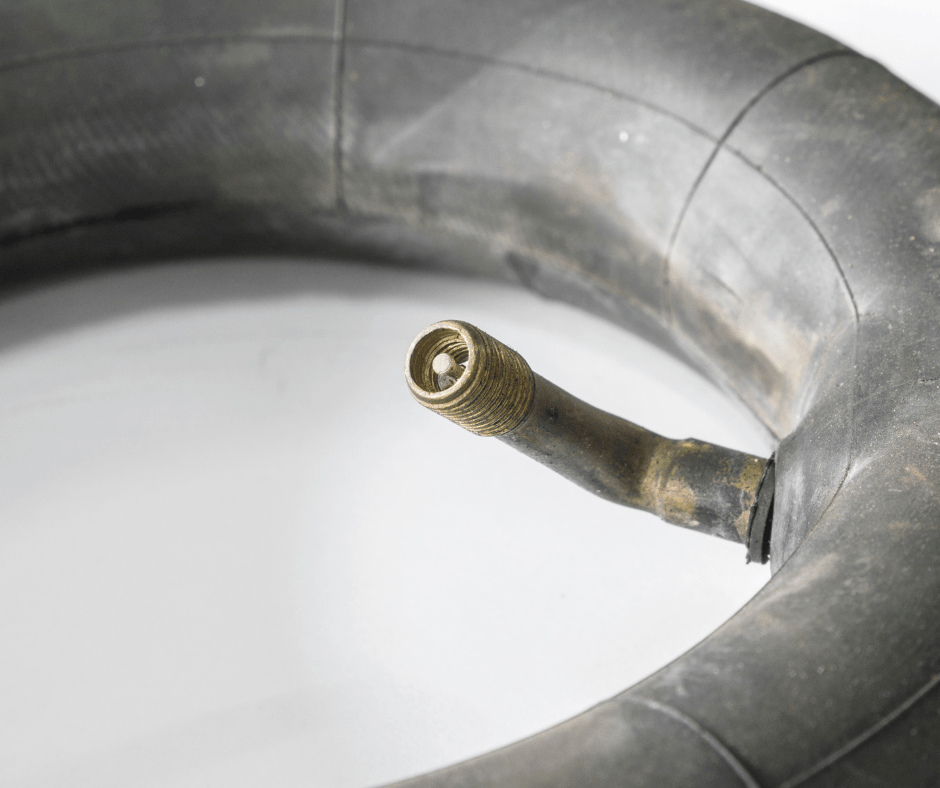
- A leak in the valve stem
- A tear in the side of the tube
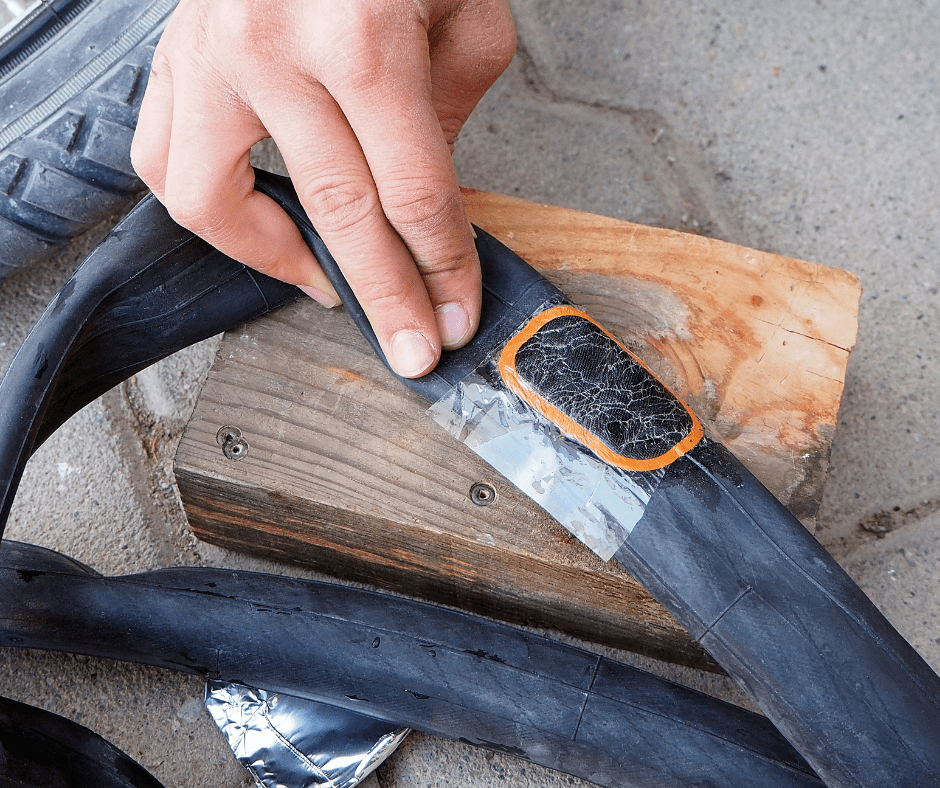
Once you’ve determined what the problem is, you can then take the appropriate steps to fix it. If there’s a hole in the tube, for example, you’ll need to patch it up before reinflating.
Step 3: Installing The New Inner Tube

- Check the rim tape: The rim tape is a thin strip of material that covers the spoke holes on the rim. Make sure that it is properly aligned and not damaged.
- Insert the new inner tube: Inflate the new inner tube slightly to give it some shape. Starting at the valve stem, insert the tube into the tire, making sure that it’s not twisted.
- Reinstall the tire onto the rim: Starting opposite the valve stem, work the tire back onto the rim. Use your hands to push the tire onto the rim, making sure that the tube is not pinched between the tire and rim.
Step 4: Final Steps & Test

- Inflate the tire: Inflate the tire to the recommended pressure. Check the sidewall of the tire for the recommended pressure range.
- Reinstall the wheel: Put the wheel back onto the bike, making sure that it is properly aligned in the dropouts. Tighten the quick-release or axle nuts, and make sure that the brake is functioning properly.
- Test ride: Take a short test ride to make sure that everything is working properly. Make any necessary adjustments before heading out for a longer ride.
Faq
You’ll likely know it’s time to change your inner tube when you have a flat tire. Additionally, if you’re frequently getting flats, it might be a sign that it’s time to replace your inner tube or switch to a more puncture-resistant tire.
With practice, changing a bike inner tube can take as little as 5-10 minutes. However, if it’s your first time or you’re encountering some difficulties, it may take longer.
It’s a good idea to check your bike tire pressure before every ride. Proper tire pressure not only helps prevent flats, but it also improves your ride quality and efficiency.
Yes, you can patch a punctured inner tube instead of replacing it. A patch kit is a small, lightweight tool that can be carried with you on rides. However, keep in mind that patched tubes may not be as reliable as new tubes and may need to be replaced sooner.
Tips
- Carry a spare inner tube and tools with you on every ride: You never know when you might get a flat, so it’s always a good idea to be prepared. Carrying a spare inner tube, tire levers, and a pump with you on every ride can save you from being stranded.
- Use the right tire lever technique: When using tire levers to remove the tire from the rim, be careful not to pinch the inner tube between the lever and the rim. This can cause a new flat. Instead, use the tire lever to pry the tire away from the rim, then use your hands to remove the tire.
- Check the tire pressure regularly: Keeping your tires inflated to the recommended pressure can help prevent flats. Check the sidewall of your tire for the recommended pressure range and use a pump to inflate the tire to the appropriate level.
- Practice changing a flat at home: If you’re new to changing a bike inner tube, it can be helpful to practice at home before you’re out on the road with a flat tire. This can help you feel more confident and comfortable when you need to change a flat on the go.
- Consider getting a tubeless tire setup: Tubeless tires use sealant to help prevent flats, and they can be a great option for riders who frequently ride on rough or rocky terrain. They require a different setup and maintenance than traditional tires, so it’s important to do your research before making the switch.
Conclusion
Changing a bike inner tube is an essential task for any cyclist, and thankfully it’s not as difficult or time consuming as it may seem. By following our step-by-step guide, you should be able to successfully change your bike inner tube in under 10 minutes with no problem. With the proper tools and a little bit of patience, changing your bike inner tube can become second nature!


