
Are you a bike enthusiast searching for the perfect handlebar height? Or maybe you’re a beginner struggling to find the right fit. Whatever your level of expertise, finding the ideal handlebar height is crucial to ensure comfort and improve performance. With so many different types of handlebars available on the market, choosing one that fits your needs can be challenging. In this blog post, we’ll guide you through everything you need to know about how high your bike handlebars should be based on various factors like comfort, safety, and riding style. So buckle up and let’s get started!
How High Should Bike Handlebars Be?
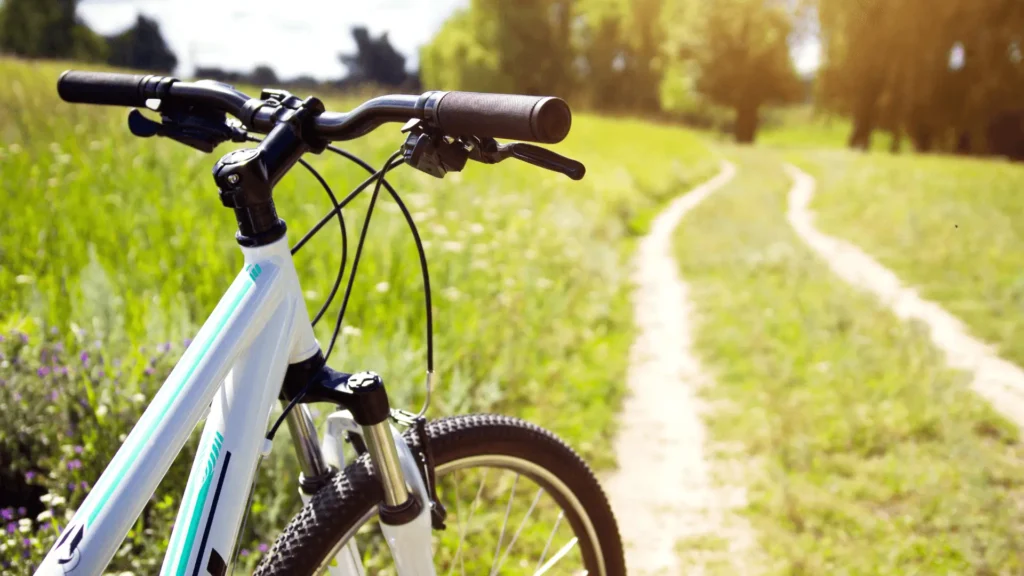
When it comes to bike handlebars, one of the most common questions is “how high should they be?” The answer depends on various factors such as your riding style, body type, and personal preferences. There’s no one-size-fits-all approach to determining the ideal height for your bike handlebars.
Different types of handlebars offer different levels of adjustability when it comes to height. For instance, drop bars are relatively low and are suitable for more aggressive riding styles like racing. On the other hand, flat bars allow for a higher position that provides better control and comfort during leisurely rides or mountain biking.
To determine the correct height for your handlebars, consider factors such as your flexibility level, intended use of the bike, and any discomfort you may experience while cycling. A good rule of thumb is that when seated on the saddle with hands resting gently on the handlebar grips; your arms should form an angle between 80-90 degrees at maximum extension.
Adjusting handlebar height can be done in multiple ways depending on what kind of stem or headset setup you have installed. While some bikes come with adjustable stems that enable easy changes to bar heights by loosening a bolt or two. Other setups require manual adjustments using spacers under or above the stem before tightening down bolts securely.
Important Note! These are general guidelines and that the best handlebar position and size for an individual will depend on their riding style, body type and personal preferences.
| Handlebar Type | Position | Size | Width | Height |
|---|---|---|---|---|
| Drop Bars | Aggressive / Racing | 38-44 cm | 36-44 cm | Low / Flat |
| Endurance / Touring | 40-46 cm | 42-48 cm | Medium / Slightly Elevated | |
| Flat Bars | Mountain Bike | N/A | 60-800 mm | Medium / High |
| Hybrid / City | N/A | 580-680 mm | Medium / Slightly Elevated | |
| Riser Bars | Mountain Bike | N/A | 680-760 mm | High |
| Urban / Commuter | N/A | 580-680 mm | Medium / Slightly Elevated | |
| Bullhorn Bars | Time Trial / Triathlon | 38-42 cm | N/A | Low / Flat |
| Fixed Gear / City | 38-42 cm | N/A | Medium / Slightly Elevated | |
| Aero Bars | Time Trial / Triathlon | N/A | N/A | Low / Flat |
The Different Types of Handlebars
Handlebars come in different shapes and sizes, each designed to fit a specific type of bike and riding style. Understanding the various types will help you choose the right one for your needs.
The most common handlebar is the flat bar, which is straight across with no rise or drop. This type of handlebar provides a comfortable upright position suitable for casual riding, commuting and recreational cycling.
Another popular option is the drop bar commonly found on road bikes. Drop bars offer multiple hand positions that allow riders to get low and aerodynamic when needed while also providing a comfortable grip when climbing steep hills.
Mountain bikes often feature riser bars that have an upward sweep at either end allowing riders to sit more upright. These bars are perfect for technical terrain where control is crucial as they provide better leverage over the front wheel.
Factors to Consider When Choosing Handlebar Height

When it comes to choosing the right handlebar height for your bike, there are various factors that you need to consider. Firstly, you need to think about your riding style and what type of terrain you will be cycling on. If you’re a recreational cyclist who enjoys leisurely rides on flat surfaces, then a higher handlebar may be more suitable as it promotes an upright posture which reduces pressure on the back.
On the other hand, if you’re an aggressive rider who likes to take their bike off-road or climb steep hills regularly, a lower handlebar would provide better control and stability over rough terrain while also giving better leverage when pedaling uphill.
Another factor worth considering is your body measurements such as height, arm length, and flexibility. These can affect how comfortable you feel when riding your bike with different handlebar heights. A professional fitting session can help determine the correct handlebar height based on these measurements.
Personal preference plays a significant role in choosing handlebars; some riders prefer low-profile bars while others like them higher up for added comfort or aerodynamics. Whatever option suits your needs best should ultimately guide your decision-making process!
How to Measure Handlebar Height
Measuring the height of your bike handlebars is crucial to ensure a comfortable and safe riding experience. To measure your handlebar height, you need a measuring tape or ruler and a straight edge.
Firstly, loosen the bolts that secure the stem to the fork steerer tube. Then place the straight edge along the bottom of your bike’s top tube and extend it upward towards the center of your stem. Measure this distance from where it intersects with the center point of your stem.
It’s essential to remember that handlebar height is subjective, as everyone has different preferences when it comes to cycling comfort. Therefore, take into account factors such as personal flexibility levels, riding style and terrain before determining an ideal measurement for yourself.
You can experiment with adjusting your handlebar height by raising or lowering them in small increments until you find a comfortable position that works for you. It’s always recommended to test ride after making any adjustments to ensure maximum comfort while cycling.
Tips for Adjusting Handlebar Height
Adjusting handlebar height is a crucial part of ensuring your bike fits you perfectly. Depending on the type of ride you’re planning, you may need to adjust the height of your handlebars. Here are some tips for adjusting handlebar height.
- Determine what type of riding position you prefer and consider how aggressive or relaxed it should be. For example, if you want a more upright riding position for comfort purposes, then raising the handlebars will achieve this.
- Make sure that any adjustment made does not compromise safety. Ensure that there’s enough clearance between your knees and the handlebars when turning corners as well as checking that all cables do not stretch too far when adjusted.
- Thirdly, don’t forget to test out each adjustment gradually before committing to one setting permanently so that minor adjustments can be easily altered without any permanent damage being done.
- Take into account your own physical limitations – such as flexibility – in deciding which adjustment works best for you.
Conclusion
In summary, the optimal handlebar height for a bike largely depends on your riding style, experience level, and personal preferences. It’s important to consider factors such as comfort, aerodynamics, and control when choosing the right handlebar height.
Remember that adjusting your handlebars is a simple process that can greatly improve your overall biking experience. If you’re unsure about how high your handlebars should be or how to adjust them properly, don’t hesitate to consult with an experienced cyclist or visit your local bike shop for assistance.
Ultimately, finding the perfect handlebar height is all about experimentation and finding what works best for you. So go ahead and give it a try – who knows? You might just discover a whole new level of enjoyment in cycling!
Also Read: 10 km cycling calories burn guide


